How I Turned My Old Macbook Pro Into a Virtualization Environment
I remember when MacBook's first started rising in popularity. The University of North Carolina provided all students with a Lenovo Thinkpad as part of admission (this had to be super convenient from a technical perspective). Once the iPhone took off, Apple device integration as well as a slick design pushed more people to Macbook's around 2009. As a result, there are still many of the 2009-2012 Macbook Pro's in circulation (albeit probably barely hanging on). If you still have one, you can easily and rather cheaply upgrade it and get it back to a usable state. Unfortunately, newer MacBook's aren't easily upgradeable.
To provide a bit of background on my MacBook Pro, it is a Mid 2010 model running OS X El Capitan with 4 GB of Random Access Memory (RAM). My battery would not hold a charge, and everything was slow. Doing basic tasks such as browsing the internet was a challenge in itself. As a result, it was tucked somewhere in a powered off state for months. Then I started studying for the CompTIA A+ (for those that don't know a lot of it deals with OS and computer hardware) and that inspired me to upgrade the operating system (OS), RAM, and replace the battery. You can find all the parts and tools that you need for under $100.
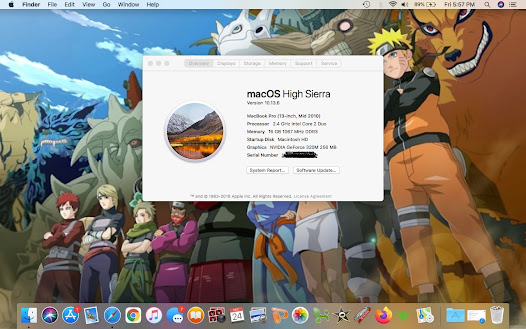
The 1st step for me was upgrading the OS and it was a simple reason behind it. You want the highest level of security, hardware and driver integration available. An older operating system might not automatically recognize or in some cases support newer RAM modules. My computer made this step harder than it should have been because it would not automatically get newer updates, so instead I had to manually search for a version of the OS that I wanted (High Sierra). The download and install process took a while, which is to be expected since High Sierra basically pushes older hardware to its limit.
After I installed High Sierra, the real fun began. In order to get to the battery and Ram sticks you need to take off the back cover of the laptop. iFixit has a great tool kit for those pesky small screws (they also provide a step-by-step guide for several types of repairs/installations if you need it). Make sure to take pictures and document the process. This may come in handy later if something isn't working or fitting into place quite right. Replacing the battery and RAM are easy steps, just be very careful because you do not want to chance damaging anything by rushing. This process should take no more than 10-15 minutes and now you're ready to use your updated and upgraded laptop.
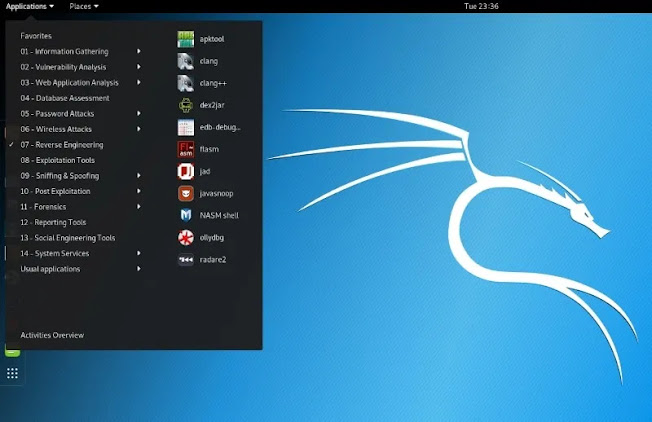
The first thing that I noticed is that my computer was a lot faster, and the fan was less active. Beforehand, I would get the spinning pinwheel on almost any application that I clicked on. Now programs and apps were running a lot quicker and smoother (even with the new OS updating drivers, etc. in the background). I downloaded VirtualBox and was able to run Windows 10 as a virtual machine. With the increased RAM I plan on using it to practice with Windows and Linux. If you just want to run applications locally, you will have increased performance. Keep in mind that you're still using an older CPU and other components, so don't try to get too sophisticated. Think of it as an improvement with more capabilities but it's still not the same as using a newer top model laptop. Next up, I'm going to add a 2nd disk drive which will be an SSD in place of the optical drive. This should provide additional speed. I will keep you all updated on the results.

Comments
Post a Comment